

How to Create Professional Blog With WordPress Website and Create Categories in 2024?
Last updated on February 9th, 2026 at 12:40 am
Creating a professional blog is no longer just about writing content—it’s about structure, usability, SEO, and trust. In 2024, WordPress remains the most powerful and beginner-friendly platform to build a blog that looks professional and performs well on Google.
Whether you’re starting a personal blog, niche website, or business blog, this guide will walk you through how to create a professional blog with WordPress website and create categories properly in 2024, step by step.
Snippet Definition
A professional WordPress blog is a well-structured website built on WordPress that uses a clean theme, organized categories, SEO-friendly settings, and consistent content publishing to provide value to users and rank well on search engines.
Table of Contents
- Why Choose WordPress for Blogging in 2024
- Professional Blog Setup With WordPress
- How to Install WordPress Website Step-by-Step
- How to Choose a Professional WordPress Theme
- How to Create Blog Categories in WordPress
- Blog Structure: Categories vs Tags
- Essential Pages Every Professional Blog Needs
- SEO Basics for WordPress Blogs
- Beginner-Friendly Blog Setup Checklist
- FAQs
- FAQ Schema (HTML)
Why Choose WordPress for Blogging in 2024?
WordPress powers over 40% of websites worldwide—and for good reason:
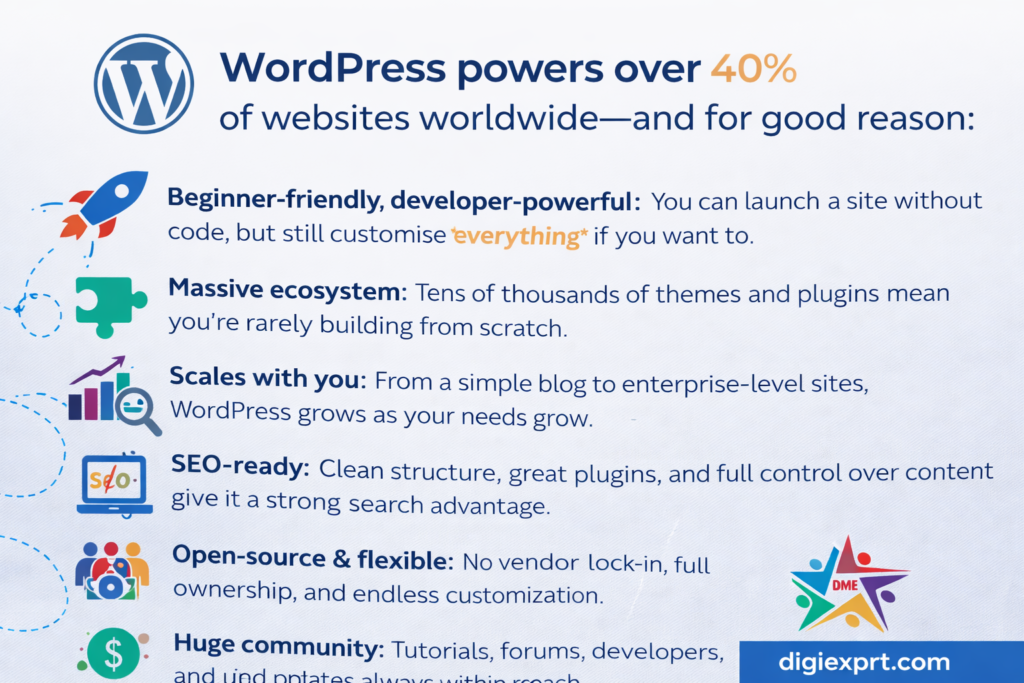
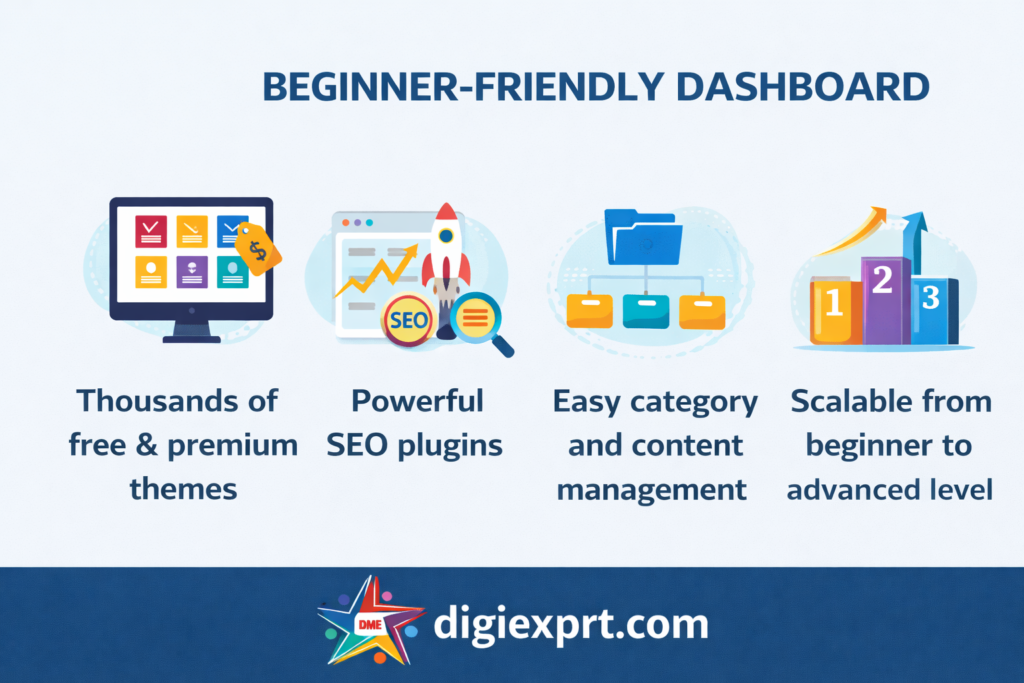
- Beginner-friendly dashboard
- Thousands of free & premium themes
- Powerful SEO plugins
- Easy category and content management
- Scalable from beginner to advanced level
For anyone serious about blogging, WordPress offers flexibility without technical complexity.
Professional Blog Setup With WordPress
Before writing your first post, you need a solid foundation.
What You Need:
- Domain name (your blog’s address)
- Web hosting
- WordPress installation
- Professional theme
- Basic plugins
Most hosting providers offer one-click WordPress installation, making setup fast and beginner-friendly.
How to Install WordPress Website Step-by-Step
Step-by-Step WordPress Installation
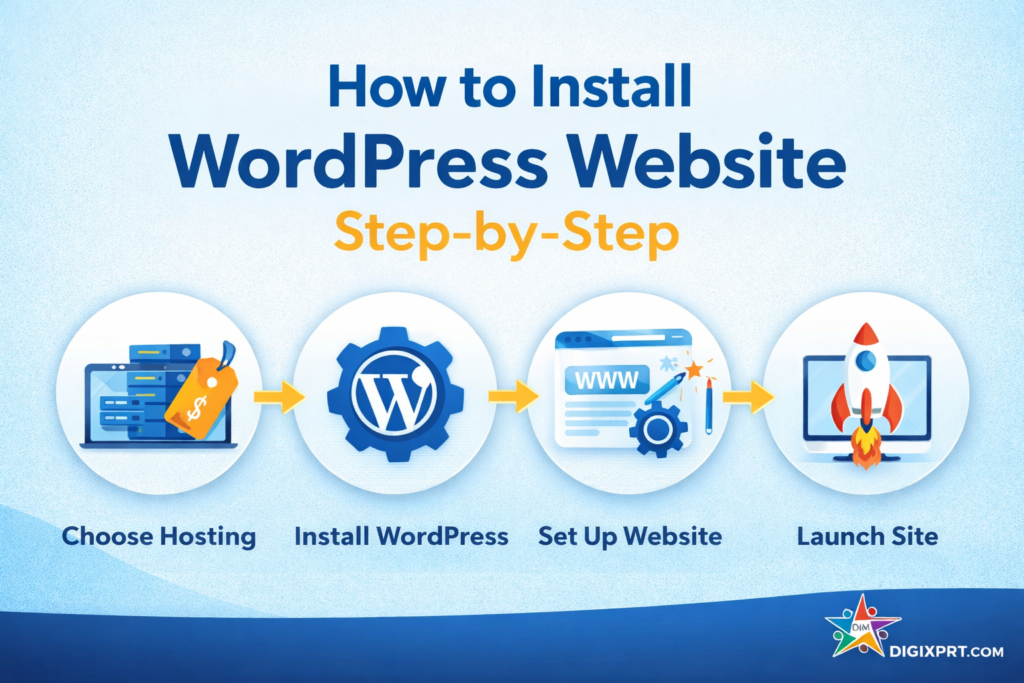
- Buy hosting + domain
- Login to hosting dashboard
- Use one-click WordPress installer
- Set admin username & password
- Access WordPress dashboard (
yourdomain.com/wp-admin)
Once installed, you’re ready to design and structure your blog.
How to Choose a Professional WordPress Theme
Your theme defines how professional your blog looks.
Theme Selection Tips
- Lightweight and fast-loading
- Mobile responsive
- SEO-friendly structure
- Compatible with plugins
Popular theme categories include blogging, magazine, and business styles. Avoid overly flashy designs—clarity beats complexity.
How to Create Blog Categories in WordPress
Categories help organize content and improve user experience and SEO.
Steps to Create Categories
- Go to WordPress Dashboard
- Click Posts → Categories
- Add category name
- Write short description (optional but helpful for SEO)
- Click Add New Category
Best Practices for Categories
- Use broad topics (e.g., SEO, Blogging, WordPress)
- Don’t create too many categories
- Assign one main category per post
Blog Structure: Categories vs Tags
| Feature | Categories | Tags |
|---|---|---|
| Purpose | Main topic grouping | Specific keywords |
| SEO Impact | High | Low |
| Required | Yes | Optional |
| Hierarchy | Yes | No |
Rule of thumb: Categories = chapters, Tags = sub-points.
Essential Pages Every Professional Blog Needs
A professional WordPress blog is incomplete without these pages:
- About Us
- Contact Us
- Privacy Policy
- Disclaimer
- Blog Page
These pages build trust and are important for Google E-E-A-T guidelines.
WordPress SEO Basics for Beginners
You don’t need to be an expert, but basics matter.
Essential SEO Actions
- Install an SEO plugin
- Set SEO-friendly permalinks
- Use one H1 per post
- Optimize meta title & description
- Add internal links
If you want structured learning, many bloggers prefer enrolling in a digital marketing training program that covers SEO + WordPress practically. Platforms like Digiexprt focus on hands-on implementation rather than theory.
Beginner-Friendly Blog Setup Checklist
✔ Domain & hosting connected
✔ WordPress installed
✔ Professional theme activated
✔ Categories created
✔ SEO plugin installed
✔ Essential pages published
✔ First blog post live
Follow this checklist and you’re already ahead of most beginners.
Learn WordPress & Blogging the Right Way
If you’re serious about blogging, SEO, and monetization, learning from experts helps you avoid costly mistakes. A structured digital marketing course in dehradun like the one offered by Digiexprt teaches WordPress, SEO, and content strategy in a practical way.
Many beginners choose the Digiexprt digital marketing course to understand not just how to build blogs—but how to grow them sustainably.
FAQs
1. Is WordPress free to use for blogging?
Yes, WordPress software is free, but you need hosting and a domain to run a professional blog.
2. How many categories should a blog have?
Ideally 5–10 well-defined categories depending on your niche.
3. Can beginners create a professional WordPress blog?
Absolutely. WordPress is designed for beginners and doesn’t require coding skills.
4. Are categories important for SEO?
Yes. Categories help search engines understand your site structure and content relevance.
5. Should I use tags in WordPress?
Tags are optional. Use them sparingly to avoid duplication issues.
6. Which theme is best for professional blogging?
A lightweight, responsive, and SEO-friendly theme works best—design should support content, not overpower it.
7. How long does it take to set up a WordPress blog?
Basic setup can be completed in 1–2 hours.